Showing posts with label Beauty. Show all posts

Tuesday, May 13, 2014

You Make Me Blush!

I know I sound cheesy sometimes. Only sometimes. But, I cant help it!

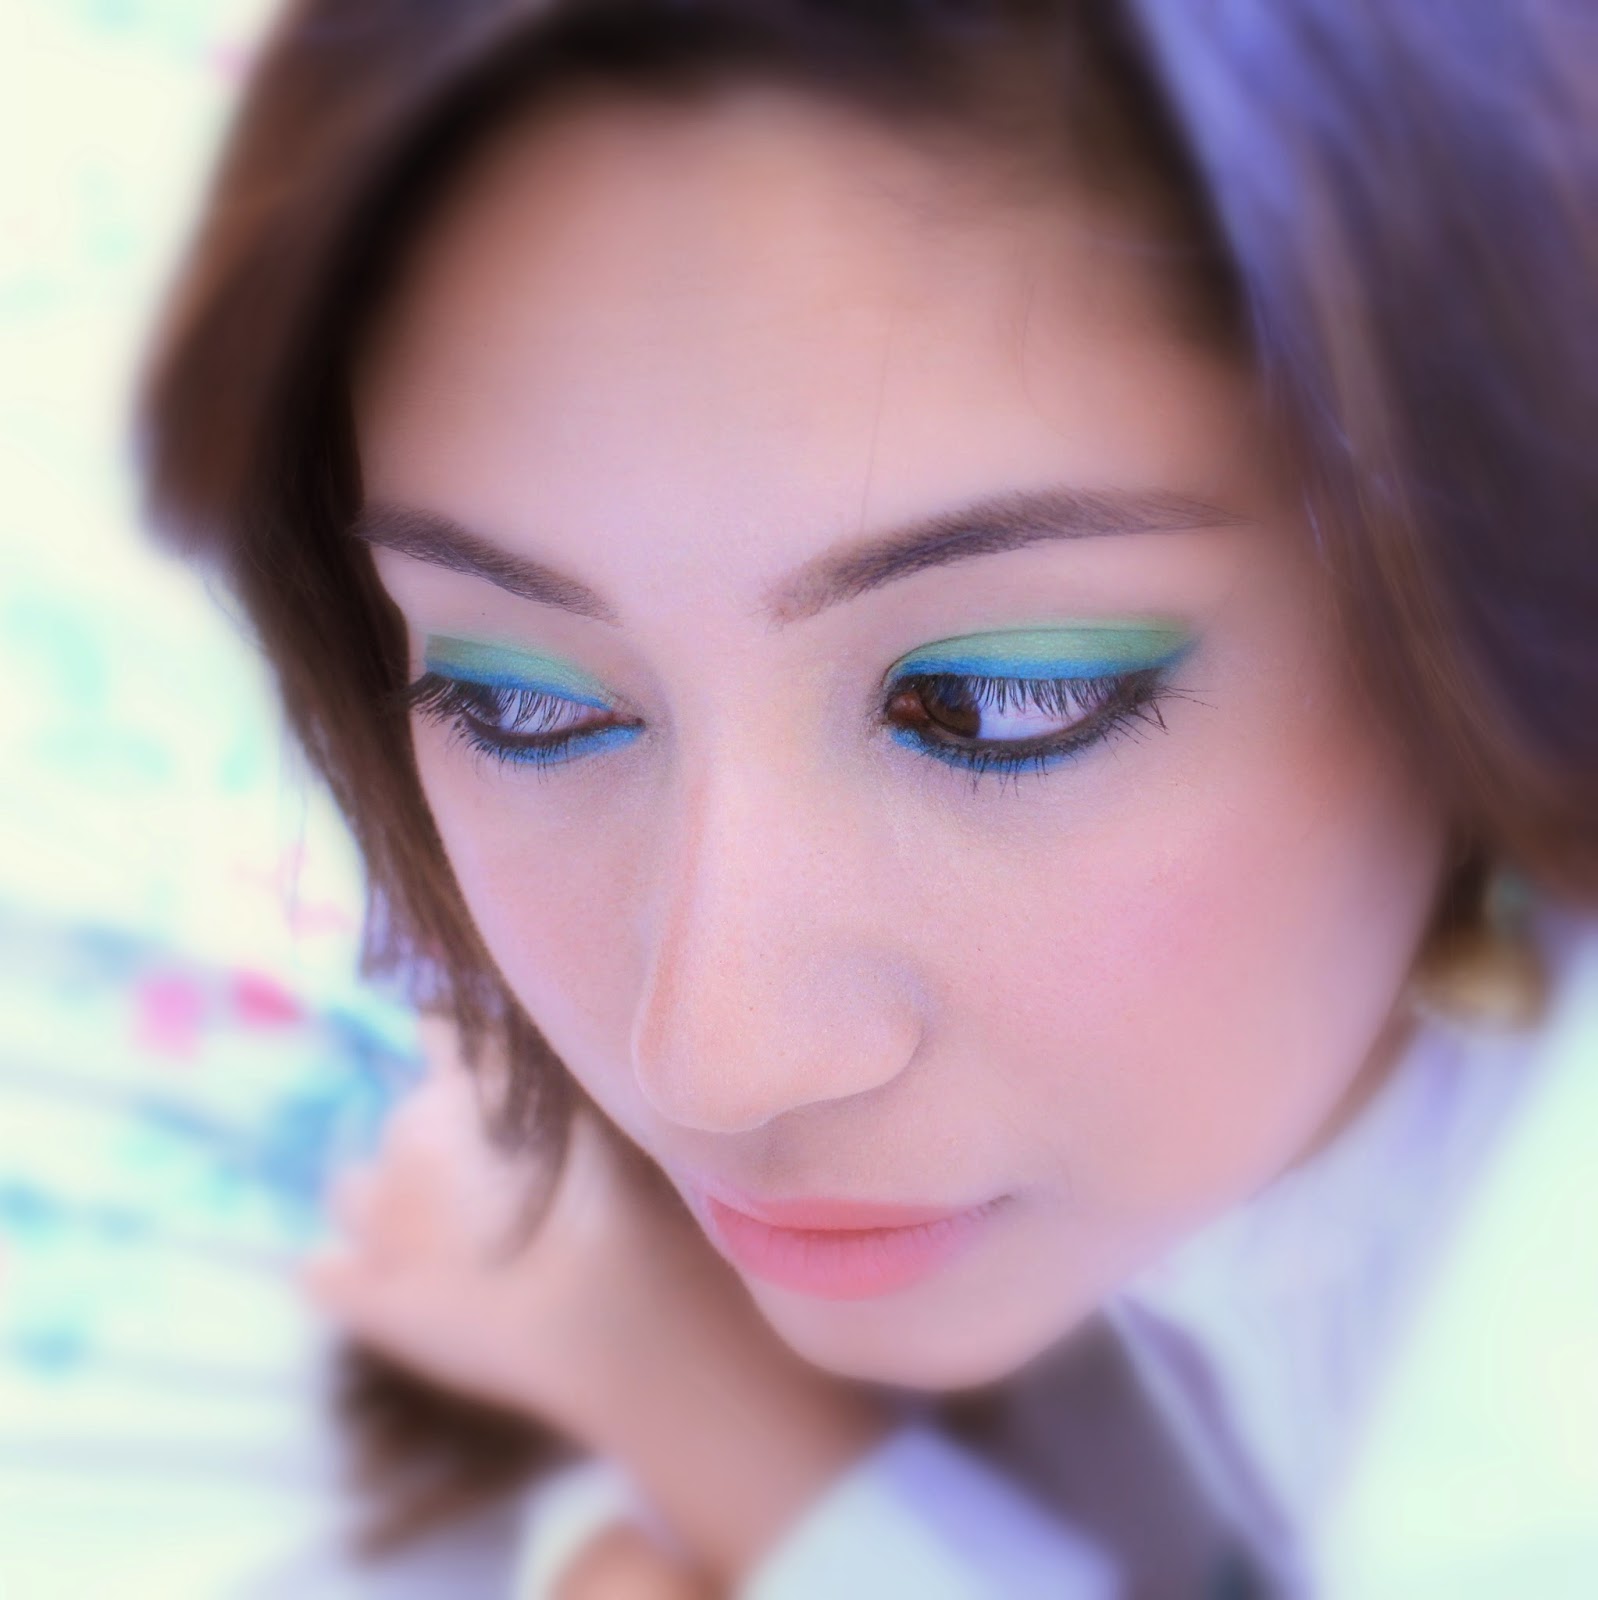
Now lets move over to my favorite eye palette in this "entire" world. Yes I love it that much. Its Urban Decay Electric Palette. But, wait didnt I say blush? You heard me right. So this is what I did. The colors that I chose from the palette are Savage and Slowburn.

Slowburn
Savage
UD Electric Palette
MakeupForever High Definition powder
And a Kabuki brush. Dab the brush on the desired color.
Add some HD Powder

Apply on the apple of your cheeks, then, happily blush!

Do you have tips that you would like to share? I would love to know and have a conversation with you. So, please do leave behind your comment, suggestion, insights, love notes... I am listening.

Also, do not forget to share the love on

Facebok    Twitter    Pinterest    Instagram    Bloglovin    Google+


Friday, May 9, 2014

Combining Lipcolors

We all love lipsticks. The moment we spot a color we pick it up. At least I do! but how much fun it can be if we start combining these colors to have a new color out of it. Here is a tutorial where I combined a lipstick and a color from Lip Tar. I applied the lipstick the usual way, then I took just a little drop of lip tar on an applicator and applied it on my lips. And yes, please dont forget to blot it with a tissue in the end, or you will end up having red teeth!


Lipstick - discontinued but MAC Pink Pigeon  is similar
Lip Tar - Harlot


Do you like this tutorial? I would love to know and have a conversation with you. So, please do leave behind your comment, suggestion, insights, love notes... I am listening.
Also, do not forget to share the love on

Facebok    Twitter    Pinterest    Instagram    Bloglovin    Google+


Tuesday, May 6, 2014

Getting the Perfect Base!


I have taken my time trying to figure out ways to getting it right and the biggest finding out of that was that one has to experiment and get the base right. The rest follows. I usually do the primer, foundation, concealing the regular way but what I found important was finding the right products. So here is a step-by-step guide to my routine and also why did I chose these products.


Start with a clean face. Apply a primer that suits your skin type. I have a reddish tinge on my nose and cheeks, that is why I use this. After which I applied a BB cream (here)


Now mix a little CC Cream, I use Clinique (here) with your foundation. I used Buxom foundation (here). However, let me tell you that Buxom foundation gives a nice glow to the face, but is medium coverage. If you want really good coverage, choose something like Nutragena Healthy Glow.


Then use an airbrush concealer pen (here) under your eyes, under the nose and on the chin. Apply a little around the nostrils too, to avoid shadows, as seen below. Also, a small tip. If you choose a shade lighter in concealer pens it will make the area brighter.


Finish it with a final dotting of concealer and then blending with the finger, where you feel its absolutely necessary.
Please dont go crazy with the concealer, as I tend to do so.
I used Laura Mercier's Secret Camouflage (here) and finally some face powder from MakeUpForever (here)


Finish with your favorite eye makeup, blush and lipstick. Nothing can beat the perfect skin though.

Did you like this makeup? I would love to know and have a conversation with you. So, please do leave behind your comment, suggestion, insights, love notes... I am listening.

Also, do not forget to share the love on

Facebok    Twitter    Pinterest    Instagram    Bloglovin    Google+


Thursday, May 1, 2014

Obsessed with Green


To be honest...its not just green but also, my obsession with the UD Electric Palette. I cant get over it. And I wont, till I know what to do with each of its colors, which are so spectacularly vibrant and beautiful .I remember, right after I had started working, I started using green liners. I used to thickly kohl my lower lid with sometimes black and a lot of times green liner. Something similar to what I have done here. It made my eyes pop! Over here I have used Freak on my upper lid and then lined both the lids with Fringe using a smudge brush. Both colors are from the Urban Decay Electric palette. Then finished off with lining my lower lid with a dark green eye pencil, like this one and loads of mascara.

I would love to have a conversation with you. So, please do leave behind your comment, suggestion, insights, love notes... I am listening.

Also, do not forget to share the love on

Facebok    Twitter    Pinterest    Instagram    Bloglovin    Google+


Wednesday, April 30, 2014

Wednesday Wishlist

I have always loved toiletries, and the reason why I loved them was the fragrance. Exotic, floral, citrus and all kind of fragrances. It transports me to another world, as I believe it does to the most of us. Here is my today's wishlist, and hope you like it too!


Whats your favorite perfume, or a perfume that you want to own? I would love to know and have a conversation. So, please do leave behind your comment, suggestion, insights, love notes... I am listening.

Also, do not forget to share the love on

Facebok    Twitter    Pinterest    Instagram    Bloglovin    Google+


Tuesday, April 29, 2014

3 Summer Hairstyles


With summer coming on, I can only think of pulling my hair up together and making a bun out of it. Easy. Period. However, something fancy would do too, as long as its simple and in this process accessories go a long way and so does simple hairstyles.


 Twister

-o- Section the hair at the back of your head into 8
-o- Starting from the right-most section start twisting it into a bun and pin it up.
-o- Take the next section and twist then wrap it around the first.
-o- Similarly take the section close to the middle partition and twist into a bun. And then take the section next to it and wrap it around.
-o- Don't worry about the extra loose pieces, as they will actually add up to the look.
-o- Accessorize if you like or let it be.


The Sidekick

-o- Take the entire hair to one side
-o- Twist it and form into a bun
-o- Secure it tightly
-o- Accessorize.


Braided
-o- Take the entire hair to one-side.
-o- Make a french braid
-o- Tighten with a rubber-band
-o- Accessorize.


Does this post remind you of something special? I would love to know and have a conversation with you. So, please do leave behind your comment, suggestion, insights, love notes... I am listening.

Also, do not forget to share the love on

Facebok    Twitter    Pinterest    Instagram    Bloglovin    Google+


Monday, April 28, 2014

Wear to Work - Orange

If you remember one of my earlier posts, I claimed orange to be a big color this season. But how could it be if I didnt keep my own word, and never used it. So here is another addition to my Wear to Work series where am gonna suggest wearing 'Orange ' to work! yes, you read this right.

What if I told you that you can wear orange eye shadows to work. And I am not talking only about those who have the privilege to be funky at work, but those who have dress codes to follow. Yes, its doable. And here we also, have to keep in mind that we are gonna have very limited time to do this. Rush hour guys. So, lets find out how:


Once you are done with your foundation, concealer, powder routine start with your bronzer at the hollow of your cheek. Keep blending in circular motion on both sides till you have blended it all evenly.


Apply a shimmery light color like silver or another neutral subtle color that compliments you.


Apply the orange now, starting at the outer corner of your eyes. Do not be too generous with the color, as we want to keep it subtle. Also, be careful about choosing the orange, and pick up the one that goes with your skin tone.


Similarly apply it on the lower lid


Apply mascara on both upper and lower lids


Apply lipstick. I used a neutral, brownish shade that compliments my skin tone.


Products that I used

Bronzer - No7 Perfectly Bronze
Eye Shadow - Urban decay electric palette (Revolt and Slowburn)
Mascara - Covergirl Lashblast fusion
Lipstick - L'oreal 180 Silky Java
White shirt - MNG See here
Pair it with a grey trouser and black jacket (coming soon)


Are there ideas that you would like to share? I would love to know and have a conversation with you. So, please do leave behind your comment, suggestion, insights, love notes... I am listening.

Also, do not forget to share the love on

Facebok    Twitter    Pinterest    Instagram    Bloglovin    Google+


Sunday, April 27, 2014

Lip Tar - So Vivid!

Lip Tar Trio Set Vivid in Nylon | Harlot | Trollop

I have started liking bright vivid lip colors. It not only compensates for the other make up components on our face, but also, makes out pictures look better. Talking of brighter hues, I have observed, that if the bright colors do not have enough pigment, it might fall flat due to the underlying skin color showing through it. However, in case of Lip Tar I noticed that the pigment is so strong that just a drop is more than sufficient to cover your entire lips. Its extremely long lasting an effective. There is just one drawback according to me, and that is its dry. One needs to support them with a nourishing lip balm for more comfortable lips. But I think that's worth it. And guess what? Its vegan too!!


I would love to have a conversation with you. So, please do leave behind your comment, suggestion, insights, love notes... I am listening.

Also, do not forget to share the love on

Facebok    Twitter    Pinterest    Instagram    Bloglovin    Google+


Saturday, April 26, 2014

Tory Burch - Happy Smell

This perfume reminds me a lot like my favorite perfume for a very longtime. Clinique Happy. I bought this 0.2oz roller bottle from Sephora today and the moment I sniffed it, I knew that I wanted this. A very happy floral Peony/ Tuberose yet citrus kind of fragrance. The instance I applied it I felt so lively that I decided to get a bottle for Spring.


Tory Burch - Now available at Nordstrom See here

I would love to have a conversation with you. So, please do leave behind your comment, suggestion, insights, love notes... I am listening.

Also, do not forget to share the love on

Facebok    Twitter    Pinterest    Instagram    Bloglovin    Google+


Thursday, April 24, 2014

Dear Life!

Dear Life!

Thanks for being with me. I like the way you write your own scripts and keep yourself so interesting. We are all learning. We all want to be like you. We call you unfair, difficult and all that, but then as you and I know, that you are the one we love the most. We are ever-fascinated with you so.

Some day, I hope, and I really hope that I sit together with you and discuss how you do it, over a cup of coffee. Do you think that you would have time? After all you are a busy person. So many people, with lives sketched so differently. Tough job, but you do it so well. 

Meet me some day. Please.

Your's Truly


Products used:
Urban Decay Electric Palette (Thrash & Freak) - See here
Lip Tar Meta - See here

Apart from life...I would love to have a conversation with you. So, please do leave behind your comment, suggestion, insights, love notes... I am listening.

Also, do not forget to share the love on

Facebok    Twitter    Pinterest    Instagram    Bloglovin    Google+


Sunday, April 20, 2014

Simple Dual Color Nail Art


This is the easiest nail art ever. All the effort it requires is to choose 2 clors, that compliment each other. Or sometimes, they do not and are absolutely contrasting.
What I used here:
  • Scotch tape
  • O.P.I start to finish base coat, top coat and strengthener
  • Revlon Nail Enamel - 480 Chic
  • Maybelline Color Show - 101 Hibiscus Heaven


How I did it:
  • Start with applying base coat. 
  • Apply Hibiscus heaven on the other nails except one.I chose the ring finger. 
  • I applied 480 chic mid-way through.Don't worry about making it look neat.
  • Once dried cover the nail either diagonally or horizontally across with the scotch tape.
  • Now apply hibiscus heaven and let it dry. 
  • Once done, then finish it with a top coat.
And you are done!


I would love to have a conversation with you. So, please do leave behind your comment, suggestion, insights, love notes... I am listening.

Also, do not forget to share the love on

Facebok    Twitter    Pinterest    Instagram    Bloglovin    Google+